Security Camera Installation: What Homeowners Should Know
How to Install Security Cameras for Maximum Protection

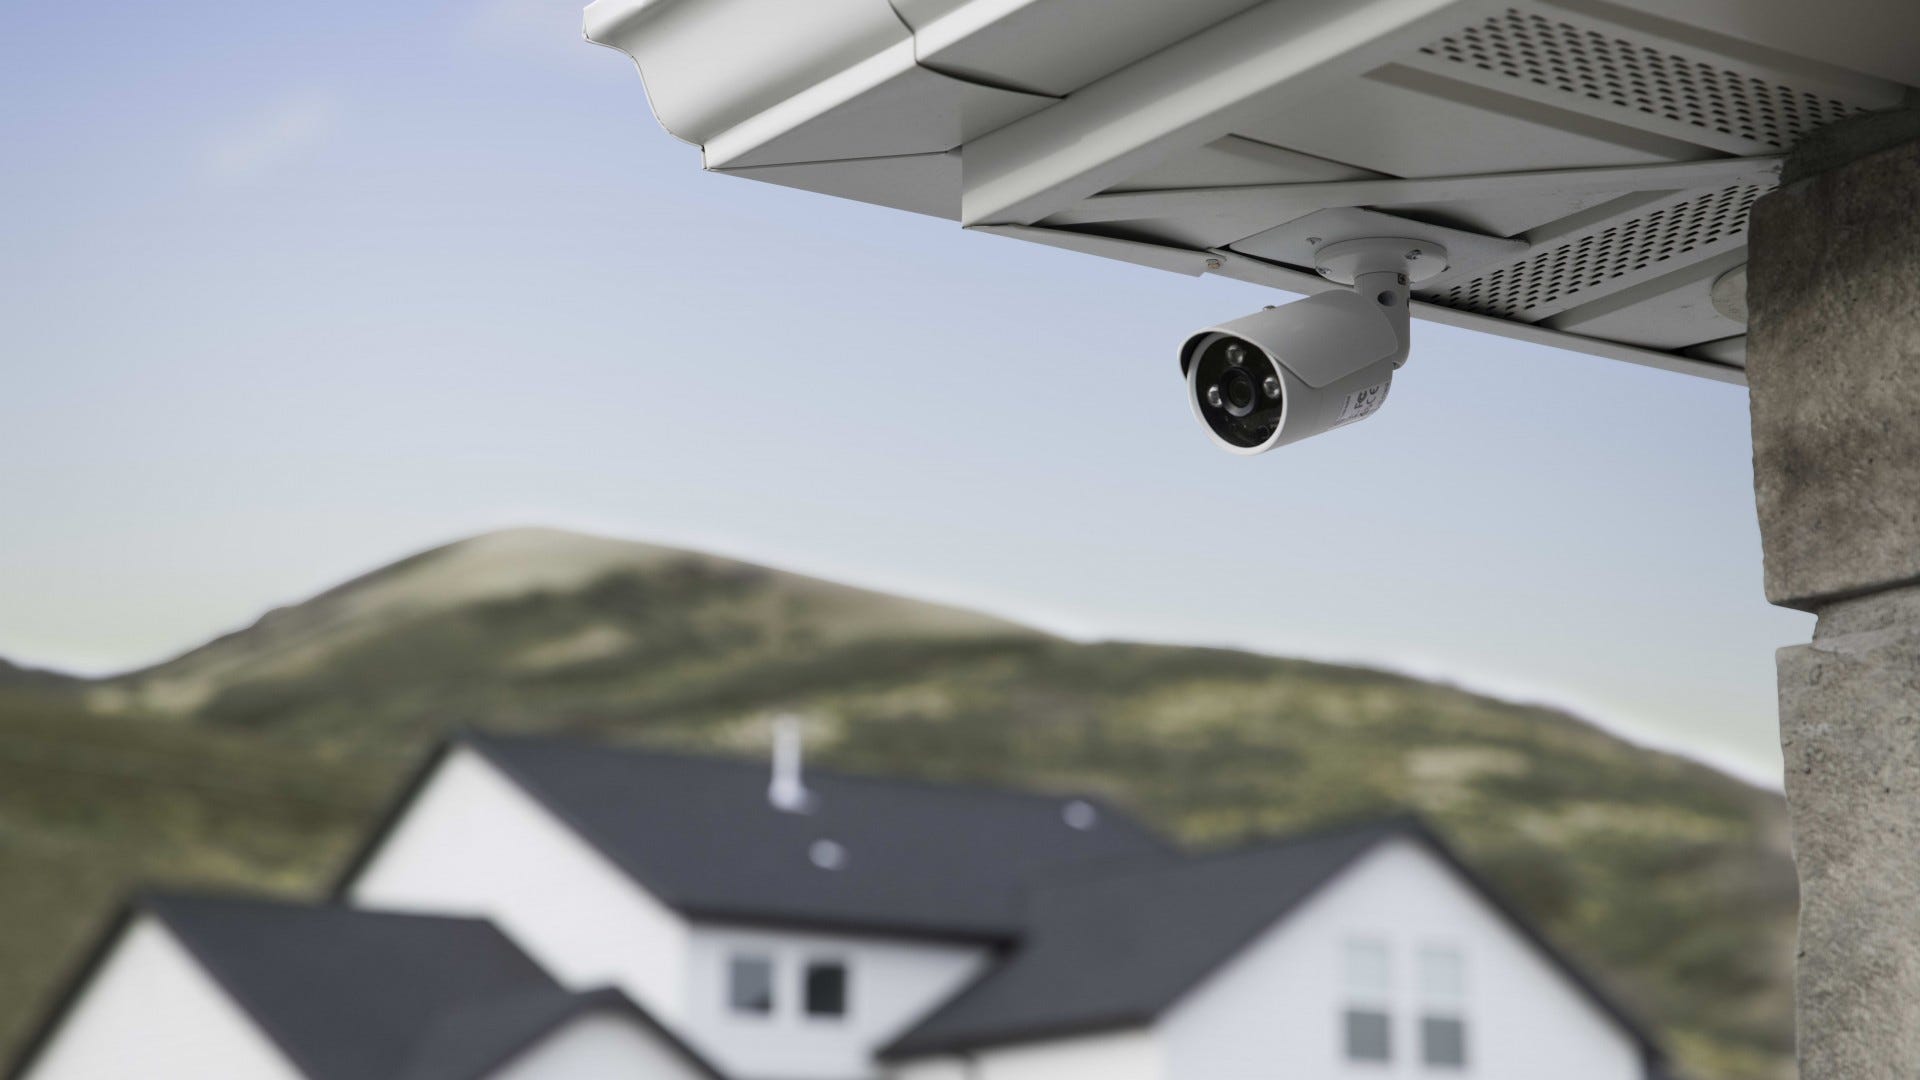
Investing in a home surveillance system is one of the smartest moves you can make to protect your property and family. However, simply buying top-rated hardware is only half the battle. The true effectiveness of your surveillance depends entirely on how and where those devices are set up.
A poorly mounted camera provides nothing more than a false sense of security and blurry, unusable footage. Whether you plan to take on a weekend DIY project or hire a professional team, this guide breaks down the essential technical, structural, and strategic realities of security camera installation that every homeowner must understand.
1. Finding the Ideal Placement (The 34% Rule)
According to historical crime data, over 34% of burglars use the front door, while another 22% enter through first-floor back doors. Your installation strategy should directly mirror these entry patterns.
The Front Entrance: Mount your camera above the frame at a downward angle of 15 to 30 degrees. This positioning ensures you capture clear facial structures rather than just the tops of baseball caps or hoodies.
Off-Street Windows & Back Doors: Intruders favor low-visibility entry points. Place cameras to look across the plane of these windows rather than directly at them to avoid reflective glass glare.
The Height Sweet Spot: Position your outdoor units exactly 8 to 10 feet off the ground. This height is low enough to retain pixel density for facial recognition, yet high enough to prevent a criminal from manually striking, spray-painting, or ripping the unit off the wall.
2. Power and Connectivity: Choosing Your Framework
Before mounting hardware, you must choose how your system will receive power and transmit data. The choice you make dictates the permanence and reliability of your system.
Wire-Free (Battery-Powered) Systems
These units run completely on internal rechargeable batteries or small attached solar panels, transmitting data entirely over Wi-Fi. While they offer 100% wireless freedom and an incredibly fast setup, they are prone to battery degradation in extreme weather and can suffer from slight latency lag when triggering recordings.
Wireless (Plug-In) Systems
These cameras still transmit footage wirelessly over Wi-Fi, but they require a physical power connection to an AC wall outlet. This gives you the massive advantage of a continuous, uninterrupted power supply, but your placement is strictly limited by the proximity of your home’s outdoor electrical outlets.
Power over Ethernet (PoE) Systems
This is the gold standard for high-security setups. A single Ethernet cable runs from a network switch directly to the camera, supplying both high-speed data transmission and electrical power. It offers maximum stability with zero wireless lag, but requires advanced installation steps like drilling and running wires through walls.
3. The Digital Backbone: Securing Your Surveillance Network
A highly sophisticated physical installation is entirely useless if your digital network is vulnerable. Because smart cameras are internet-enabled IoT (Internet of Things) devices, they are primary targets for remote hacking if left exposed.
Successful security camera installation requires a dual-layered approach: you must physically anchor the hardware against environmental elements while digitally isolating the system to prevent unauthorized network intrusion.
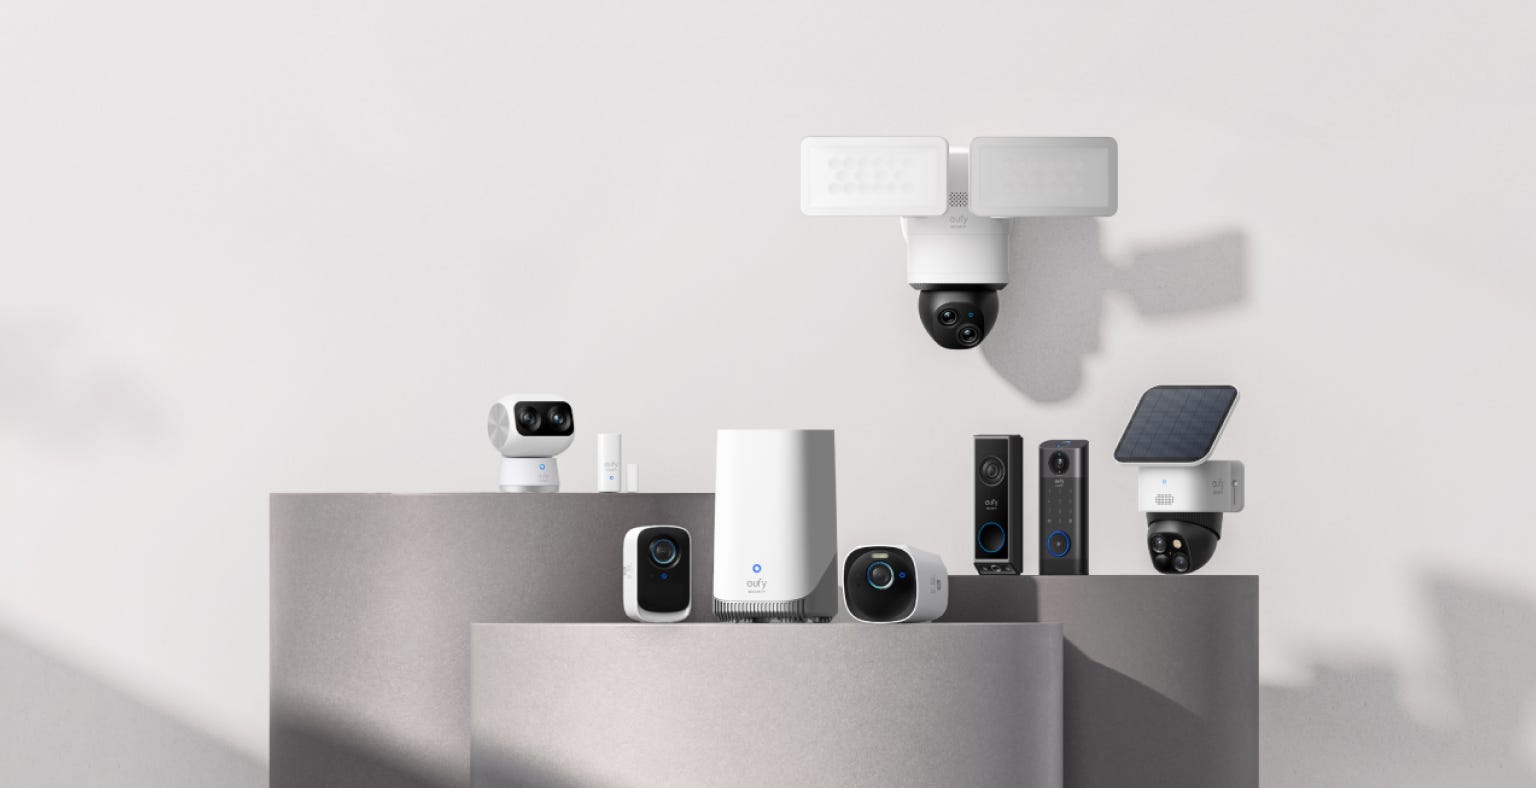
Isolate Your Network: Never host your security hub on the same Wi-Fi subnet used by your family’s laptops, phones, or smart TVs. Create a dedicated VLAN (Virtual Local Area Network) or a secondary guest network specifically for your cameras.
Update the Firmware Immediately: Factory settings ship with universal default passwords. Change these to complex, unique phrases immediately upon boot-up, and enable WPA3 network encryption on your router.
4. The Outrank Edge: 3 Architectural Realities Most Guides Miss
To ensure your surveillance framework is completely bulletproof, avoid these advanced installation bottlenecks that standard articles overlook:
The Lens Focal Length Dilemma (2.8mm vs. 4mm)
Most homeowners assume all security cameras see the same way. When ordering hardware, pay close attention to the lens size. A 2.8mm lens provides a wide 100-degree field of view, making it perfect for tracking broad movements across a wide backyard or driveway. However, it distorts facial details at a distance. If you need to identify a license plate or a face at an exact bottleneck point (like a narrow side gate), choose a 4mm or 6mm lens, which narrows the field of view but drastically increases detail and depth clarity.
The Wi-Fi Bandwidth Split (2.4 GHz vs. 5 GHz)
Many premium smart cameras fail to connect during DIY setups because homeowners try to pair them to a modern 5 GHz Wi-Fi band. The majority of smart security systems still operate exclusively on the 2.4 GHz frequency. While 2.4 GHz transfers data slower than 5 GHz, it travels significantly farther and penetrates thick exterior brick, stucco, and drywall much better. Ensure your home router broadcasts a split-band network before mounting your wireless units outside.
Exposed PoE Cable Vulnerabilities
If you choose a hardwired PoE system, look closely at where the Ethernet cables exit the camera base. If a technician leaves a loop of exposed category cable running down the side of your siding, an intruder can clip it with standard wire cutters in two seconds, instantly killing the feed. Always feed cables directly backward through the center of the mounting bracket straight into the wall cavity, or run the lines through solid, industrial metal conduit piping along your home’s exterior.
5. Legality and Neighbor Privacy
Surveillance laws vary heavily by municipality. As a general rule of thumb, your cameras have the legal right to capture public spaces (like the street or public sidewalks) and your own property lines.
However, if your camera’s field of view directly peers into a neighbor’s backyard, bedroom windows, or private living areas, you could face severe civil lawsuits for privacy violations. Use the privacy masking zones feature inside your camera’s software settings to digitally black out adjacent properties, keeping your operation completely legal and ethical. United Security Systems can help ensure your surveillance setup balances effective security coverage with privacy compliance and responsible monitoring practices.